
Ms.Lizzy
Hi, this is Lizzy from Dinosaw ( Not a Robot ). Which Machine ( model ) do you want? Please WhatsApp us now
Open Hours:8:30am-20:30pm
WhatsApp: +86 198-5901-3937
Open Hours:
8:30am-20:30pm
 Oct 3, 20255 MIN READ
Follow clear SOPs, troubleshooting guides, and maintenance schedules to keep your CNC bridge saw running safely and efficiently. Maximize uptime and cut quality.
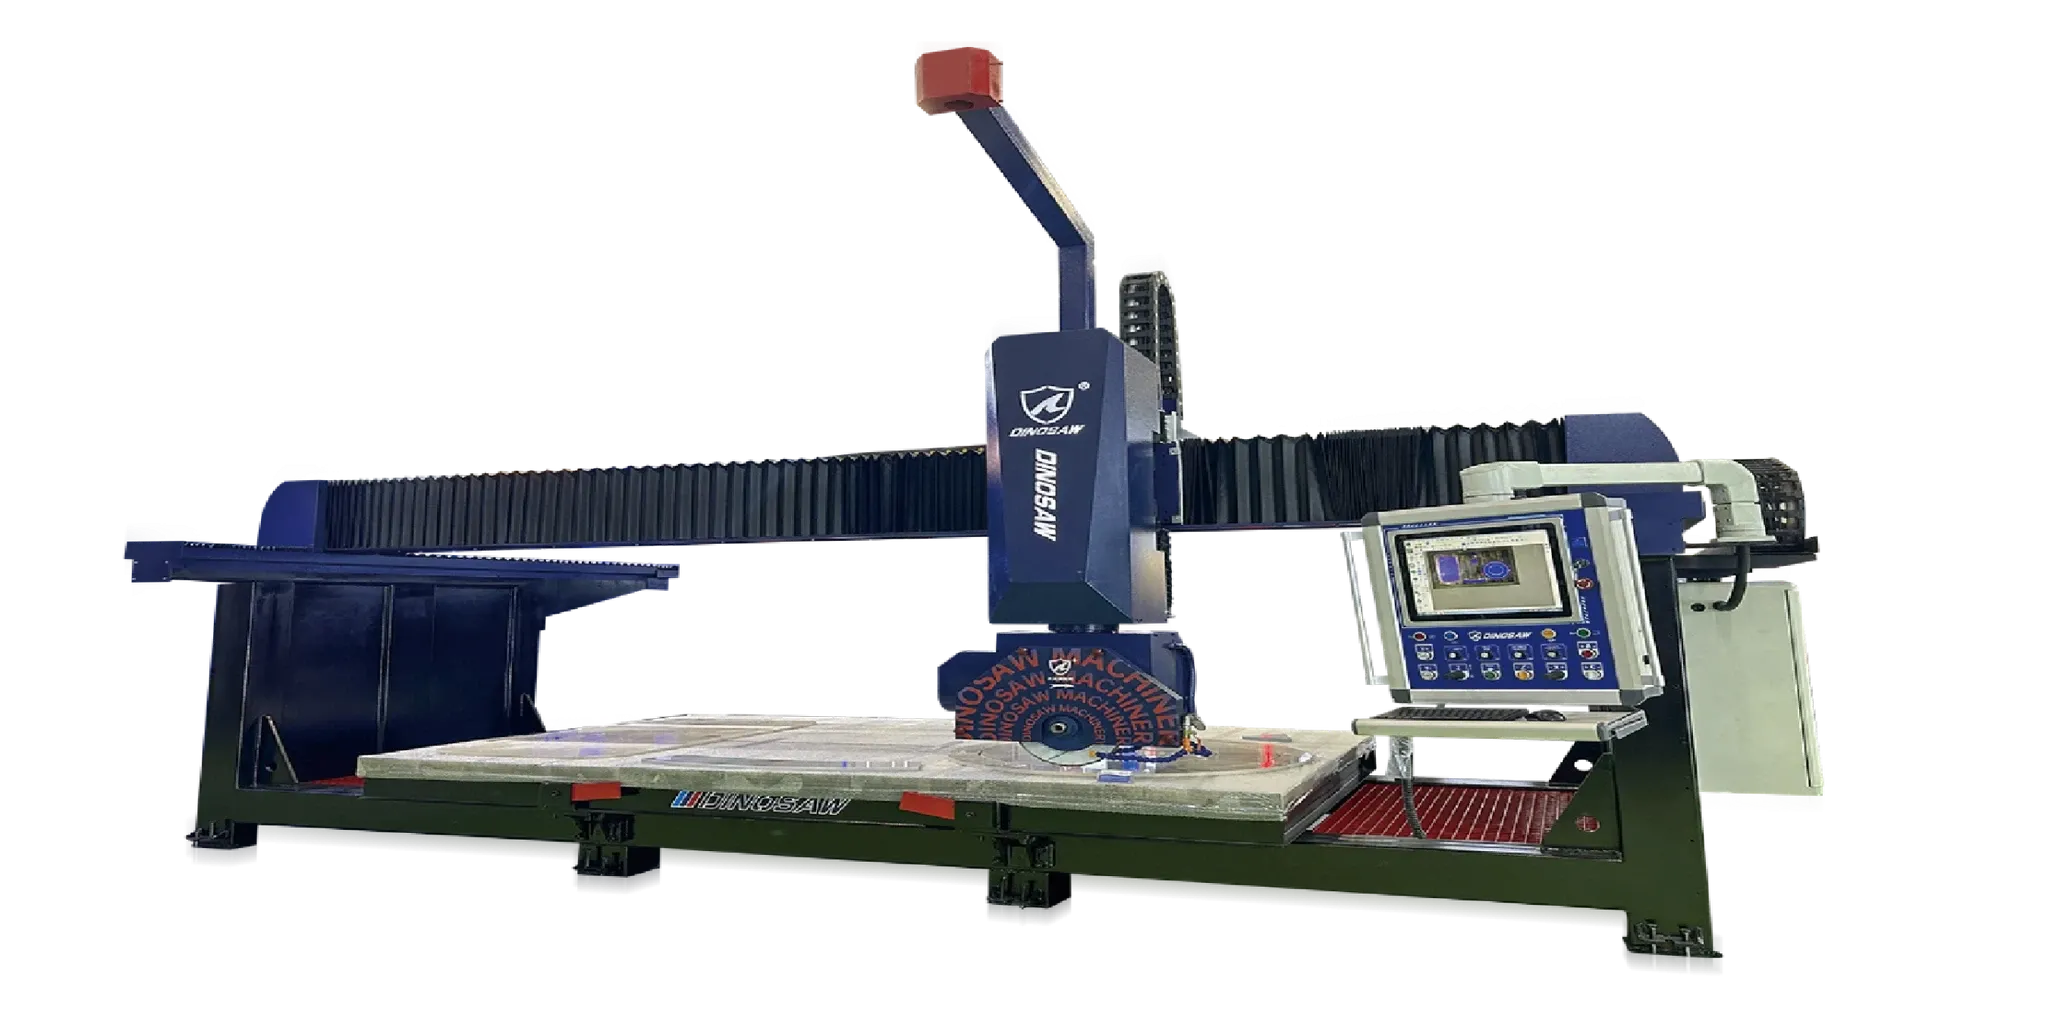
For operators and maintenance technicians, consistent performance is built on a foundation of clear Standard Operating Procedures (SOPs), proactive maintenance, and rapid troubleshooting. This guide provides actionable checklists and diagnostic flows to reduce downtime, minimize defects, and ensure a safe working environment when operating the 5-Axis Bridge Saw for Sinks & Countertops.
Download our detailed maintenance log template to simplify your team's daily and weekly checks.
By following these structured procedures, your team can prevent common issues before they lead to costly repairs and ensure every cut is as precise as the first. This document covers everything from daily power-on checks to quarterly calibration and safety compliance.
A consistent daily routine is the first line of defense against unexpected machine failures.
| Phenomenon | Likely Cause → Diagnosis → Fix → Prevention |
|---|---|
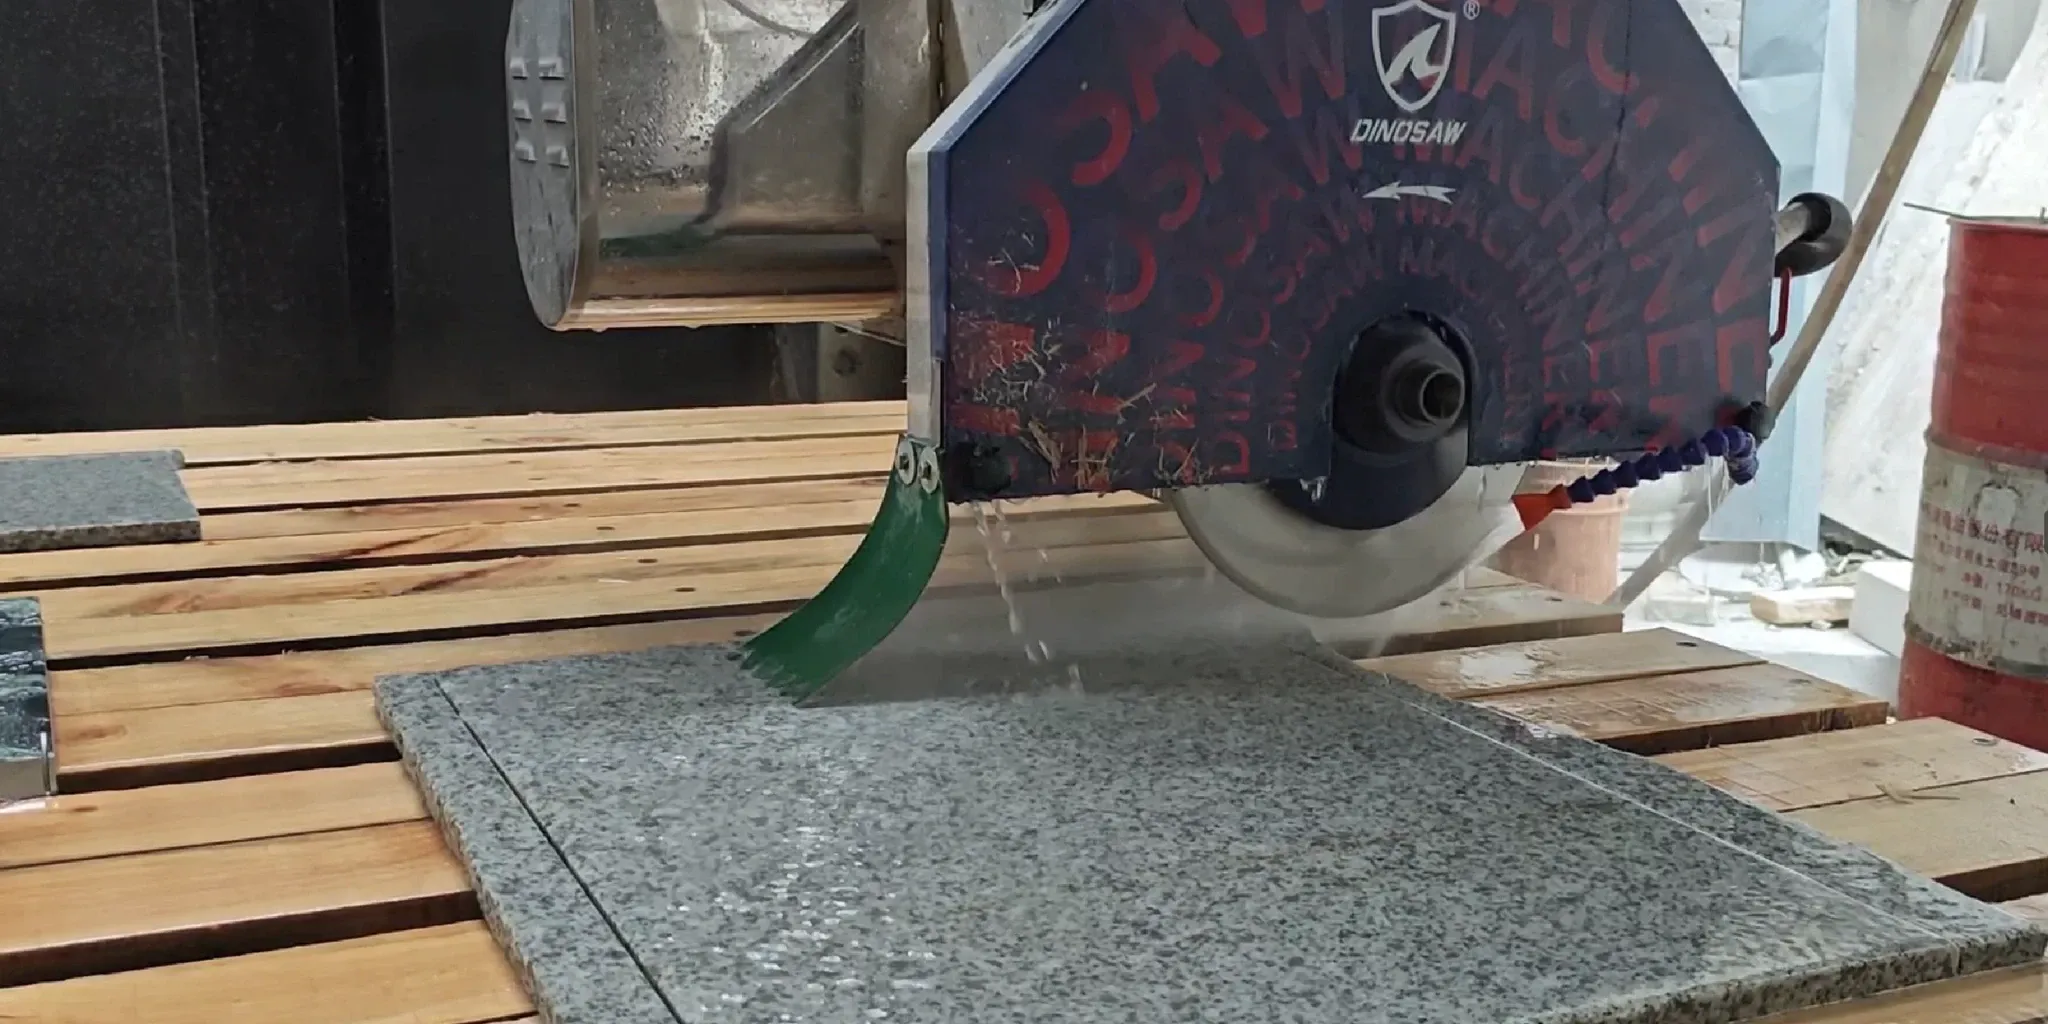
| 1. Chipping on Granite/Quartz | Dull blade, wrong RPM, or too fast a feed rate. → Inspect blade for glazing. → Dress the blade with a dressing stone; reduce feed rate by 15%. → Regular blade inspection. |
| 2. Corner Cracks in Cutouts | Sharp corner in toolpath. → Review G-code for G01 moves at corners. → Program a small radius (e.g., 3-5mm) instead of a sharp 90° turn. → Standardize CAD templates with rounded inside corners. |
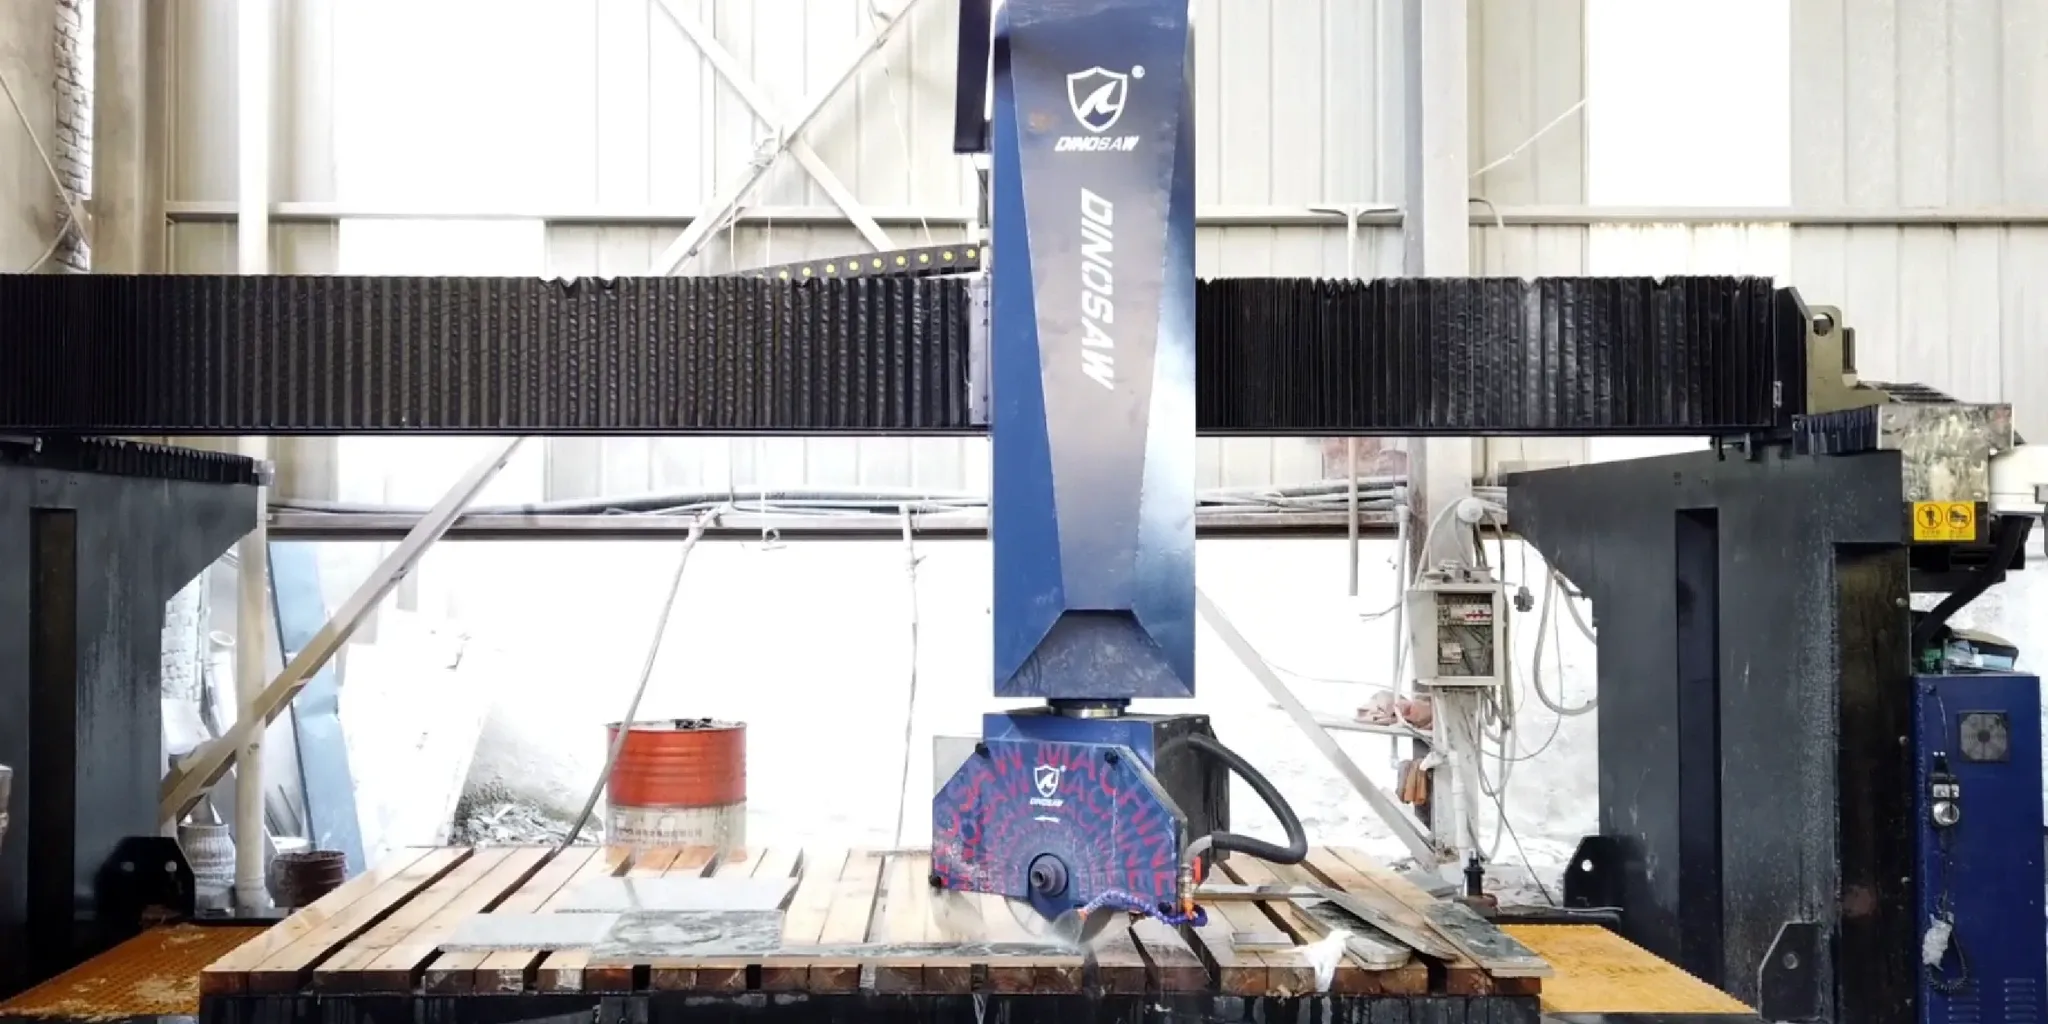
| 3. Machine Vibration | Unbalanced blade or worn spindle bearings. → Run spindle without blade to isolate noise. → Replace blade if damaged; schedule bearing replacement if noise persists. → Regular bearing lubrication. |
| 4. Mismatched Miter Seams | Incorrect tool compensation or A-axis calibration drift. → Cut a test piece and measure the angle. → Re-run tool measurement and A-axis calibration routines. → Calibrate monthly. |
| 5. Blade Glazing | RPM too high for the material. → Blade edge is smooth and not exposing new diamonds. → Lower RPM and run the blade through a soft, abrasive material (dressing stone). → Use material-specific recipes. |
| 6. Vacuum Slip | Dust on slab, worn vacuum seals, or low pump pressure. → Check vacuum gauge. → Wipe slab surface; inspect seals for tears. → Replace worn seals weekly/monthly. |
| 7. Coolant Clogs | Slurry buildup in the filtration system or nozzles. → Weak/uneven water flow. → Flush the system and clean the main filter and individual nozzle tips. → Daily flushing of the system. |
| 8. DXF Import Errors | Incompatible file version or open contours in the drawing. → Error message on HMI. → Re-save DXF in an older format (e.g., 2010); use JOIN command in CAD to close polylines. → Standardize CAD export settings. |
| 9. Swirl Marks on Edges | Blade deflection or vibration. → Visible marks on the cut face. → Stiffen the blade with stabilizers if possible; check machine leveling. → For finishing tips, see our guide on how to Fix Swirl Marks on Granite & Quartz. |
| 10. Camera Calibration Fails | Dirty lens or damaged calibration target. → System cannot recognize the target dots. → Clean the camera lens with a microfiber cloth; inspect target for scratches. → Keep camera area clean. |
Practical knowledge and strict adherence to safety standards are non-negotiable. For a breakdown of all machine components, refer to the Anatomy of a CNC Bridge Saw guide.
A great field tip for reducing ceramic chipping is to use a sacrificial backer board made of foam or soft MDF. It supports the material at the exit point of the cut, preventing blowout.
Lockout/Tagout (LOTO): Always perform LOTO procedures before any maintenance or repair work. Disconnect all energy sources (electrical, pneumatic) and verify the machine is deenergized.
Use a blade specifically designed for ceramic/porcelain, ensure maximum coolant flow, reduce the feed rate, and consider a multi-pass approach where the first pass is a shallow score. Using a backer board can also prevent chipping on the exit side of the cut.
A thin film of dust or moisture on a highly polished surface can break the vacuum seal. Before placing the slab, wipe both the slab surface and the vacuum pads with a clean, dry cloth to ensure a secure grip. Also, check the vacuum seals for any nicks or wear.
The most critical weekly checks are inspecting the blade for any signs of damage or imbalance and lubricating all designated points on the machine's moving components. Ensuring the machine remains perfectly level is also key.
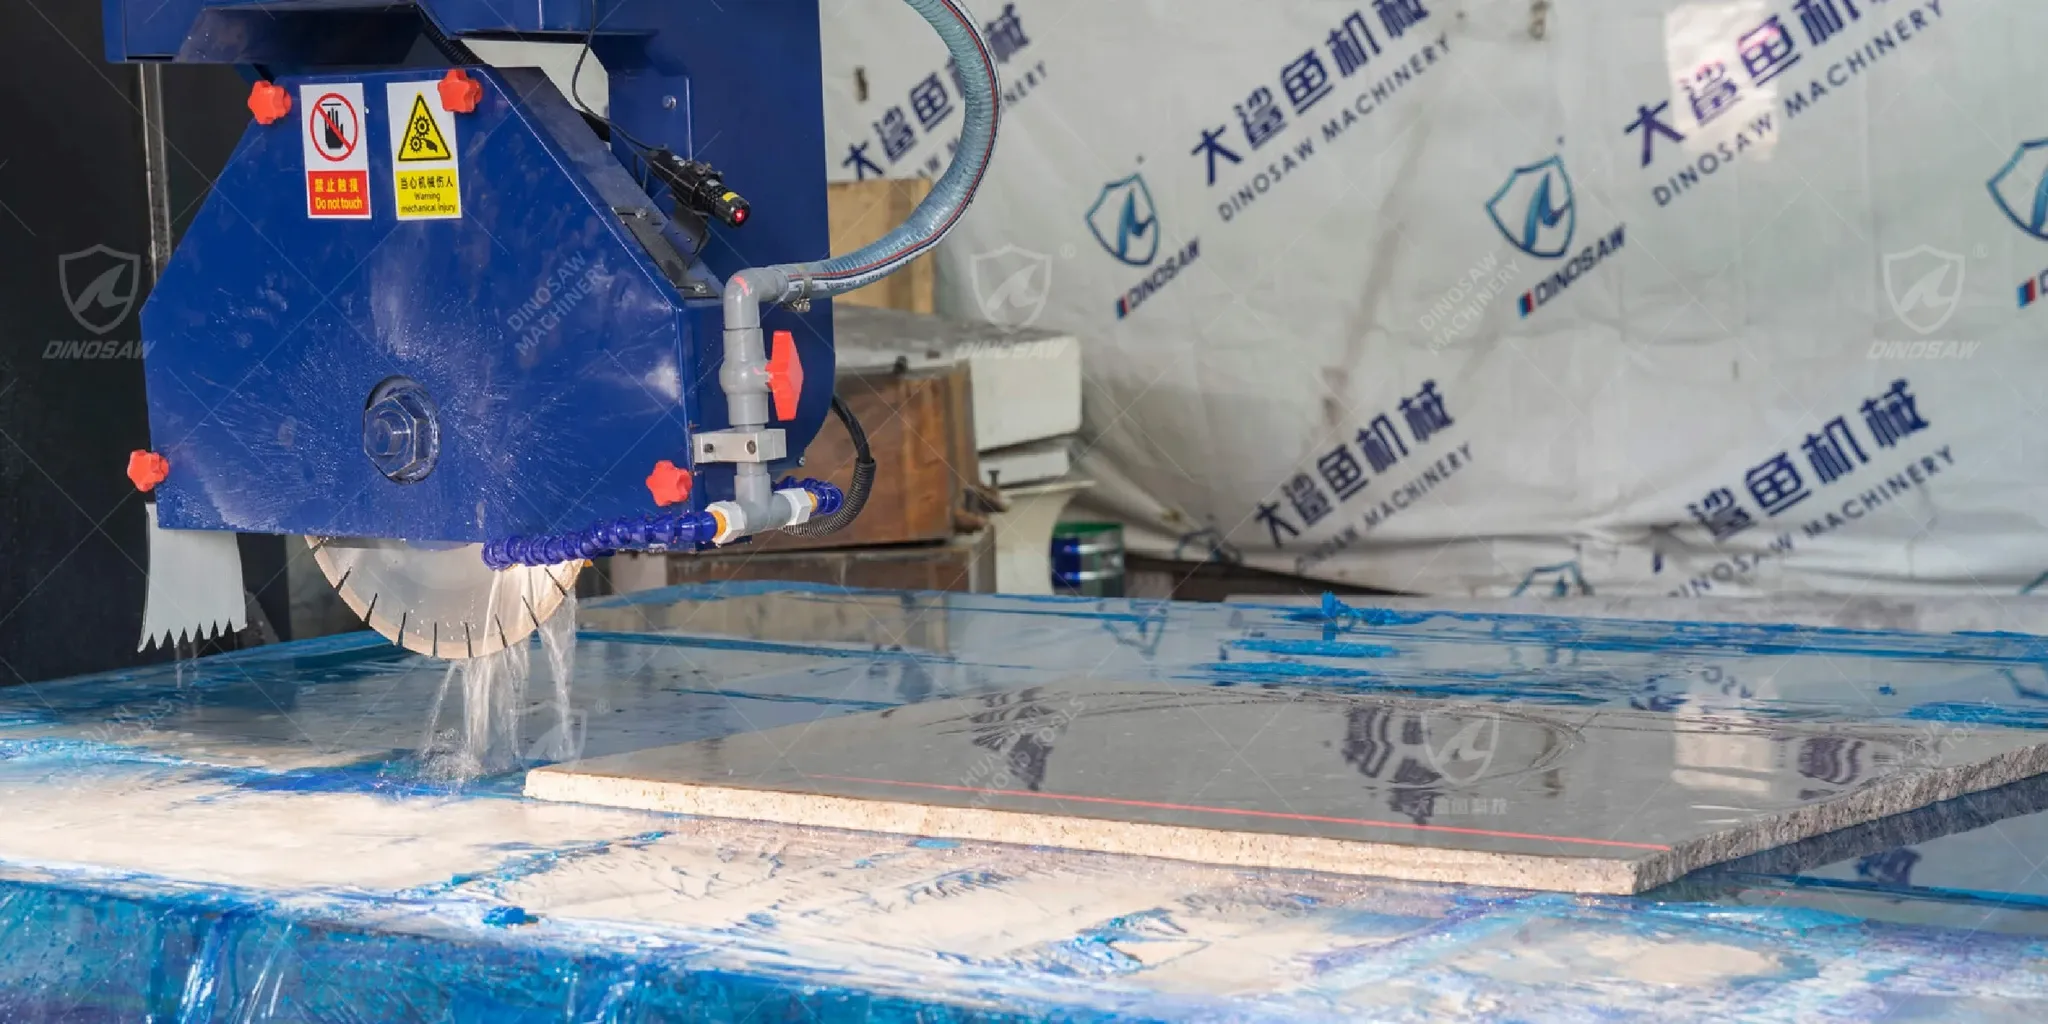
The goal is to create a "wave" of water that fully envelops the blade's point of contact with the stone. Adjust the nozzles so they target both sides of the blade just ahead of the cut. There should be enough flow to prevent steam and immediately wash away all cutting debris.
First, re-export the file from your CAD software using an older, more compatible DXF version (e.g., AutoCAD 2010). Second, ensure all shapes in your drawing are closed polylines with no gaps or overlapping lines.
Are you looking for more new information blogs?

Get A Easy Solution
Chat Online
Hi, this is Lizzy from Dinosaw ( Not a Robot ). Which Machine ( model ) do you want? Please WhatsApp us now
Hello 👋 How can we help?